STEM Activities
 Artistic Adventures
 Playful Learning
 The Recipe Repository
  Nature Explorations


 Save PDF
Nature provides us with endless materials for artistic creation. How can we use them in art? Twigs, leaves, and stones are excellent materials that we can use to create beautiful geometric shapes and unique designs. Let's celebrate nature's art with children!
Materials Needed
- Drawing paper
- Stones (or twigs)
- leaves
- watercolour spray

Step-by-step tutorial
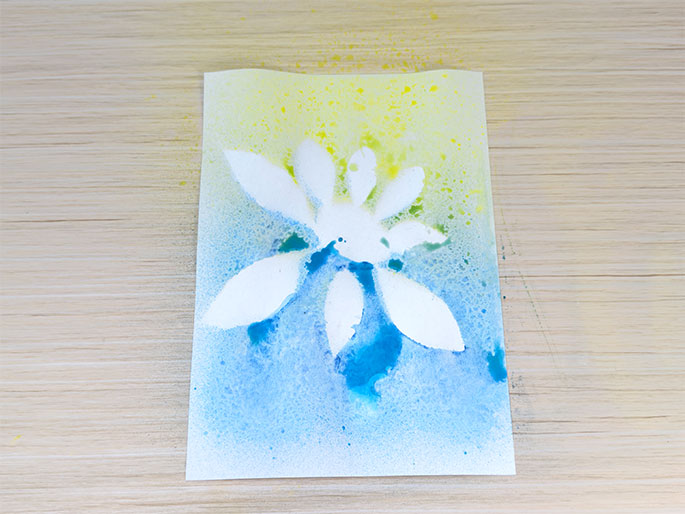
Arrange leaves on the paper in any pattern you like.

Place stones or twigs on the paper.

Choose your favorite watercolour shades and spray them over the paper containing the leaves and stones.

Wait for the paint to dry, then remove the leaves and stones. Your leaf print artwork is complete! Try combining leaves in different arrangements to create more artworks!

Who Are We?
We’re a passionate team of scientists, engineers, and educators dedicated to delivering hands-on fun. Our mission is to inspire creativity and confidence in the next generation of young innovators.
Sign up and receive DIY inspirations straight to your inbox!
Plus! Enjoy FREE learning resources, exciting lucky draws, and seasonal freebies from us

Featured Products


 Over a thousand
projects
designed,
Over a thousand
projects
designed,  over
ten
thousand materials tested,
over a hundred thousand happy families!
over
ten
thousand materials tested,
over a hundred thousand happy families!